Showing posts with label baking. Show all posts

10 June 2024

Cadbury Warm Chocolate Brownie Mix (Ocado) By @Cinabar

Cadbury Warm Chocolate Brownie Mix


On a Saturday evening, we tend to have a treat and usually order something nice for dessert. Work has been rather stressful recently; there is too much to unload, but thankfully things are starting to settle. It is this work stress that has been bothering me, and that is why I’ve been a little off my game, like ordering our weekly grocery shop on the wrong day of the week. It was not the end of the world, as we had food in the freezer, but it left a gap for cake. A quick rummage in the cupboard and I found this Cadbury Warm Chocolate Brownie Mix. This was the perfect time to crack it open.

Cadbury Warm Chocolate Brownie Mix

Inside the Cadbury Warm Chocolate Brownie Mix box was just a pad of cake mix; thankfully, the only extra ingredients needed were vegetable oil, water, and an egg, and we did have one egg left. 

Cadbury Warm Chocolate Brownie Mix

The instructions are pretty simple: mix the oil, water, and egg together (which feels a bit weird as there is no flour), but easy enough to do. Once that is combined, you add the bag of mix and whisk for 1 minute. Then you pour it into a greased baking pan and bake for just over twenty minutes. 

Cadbury Warm Chocolate Brownie Mix

Once it came out of the oven, the top looked a little cracked, but I could see it had a nice crispy texture, with the base underneath being super soft and moist. The flavour was a delight, sweet chocolate goodness. The mix even had drops of Cadbury chocolate in for that ultimate richness in the flavour. We ate most of it warm, but I can tell you the seconds the next day were also spot on in texture, soft but crispy too. It is definitely worth having a box of this Cadbury Warm Chocolate Brownie Mix for cake emergencies; they are a thing. 

Cadbury Warm Chocolate Brownie Mix


7 August 2023

Caramelised Biscuit Cupcake Baking Kit (Aldi) By @Cinabar

Caramelised Biscuit Cupcake Baking Kit


I do love the trend for caramelised biscuits, so when I spotted this box of a Caramelised Biscuit Cupcake Baking Kit in Aldi, I knew I had to give it a go. This is a quick bake for me, which is quite helpful as things have been super busy. My day job is taking up a lot of my time, and Spectre also has new ventures that he has been needing a hand with. So I bought a quick-bake kit to give us a treat.

 
Caramelised Biscuit Cupcake Baking Kit

Inside the box, we have a cake mix, an icing mix, some cup cake cases, and a biscuit crumb.

Caramelised Biscuit Cupcake Baking Kit

To start off, we mix the cake mix with an egg and some water, I gave it a good whisk, and then dollop the mix into the cupcake cases, it makes six. These looked good after they were baked.

Caramelised Biscuit Cupcake Baking Kit

Once it cooled, I made the icing. This was just a case of mixing the icing mix with the butter, this took a bit of work with a wooden spoon, but soon changed colour and turned into a caramel-coloured icing.

Caramelised Biscuit Cupcake Baking Kit

I piped the icing on top. I bake a lot, but I am surprisingly bad at anything artistic, that’s not my thing. I find it easier to make a perfect Italian focaccia bread than to decorate a cake, so these were not as pretty as the picture.
Having said that the last stage covered this a little, I sprinkled the biscuit crumb on top. They did look quite nice with that on top.

Taste wise these were gorgeous. The quick bake resulted in a tasty, moist sponge and the most gorgeous spiced biscuit flavour icing. They had a good caramel flavour and left us wanting to eat a second one. A lovely kit that was quick to bake and still looked fancy and tasted good.
Caramelised Biscuit Cupcake Baking Kit


9 January 2023

BBC Maestro Bread Making Course (And #Competition) By @Cinabar

BBC Maestro Bread Making Course


The lovely folks at BBC Maestro asked me if I wanted to try out one of the online BBC Maestro cooking courses and run a giveaway so that one of you could also win a course. There are quite a few to choose from, all presented by experts in their field:

  • Modern Indian cooking with Vineet Bhatia 
  • Classic French Bistro Cooking with Pierre Koffmann 
  • Delicious vegetarian cooking with Marco Pierre White
  • Delicious food cooked simply with Marco Pierre White
  • Bread making with Richard Bertinet

As much as I was intrigued by Modern Indian cooking with Vineet Bhatia, I love baking and couldn’t resist Bread Making with Richard Bertinet, and I signed up.

The lessons are well-presented and comprehensive, and you can watch and re-watch as needed. The pace was right for me; I chose to do one lesson a week as a weekend treat. I have never used fresh yeast before and can only hope to develop my kneading skills to the level of Richard Bertinet. I enjoyed watching to the videos and learned a lot about bread too. For example, breads like Fougasse (see the photo for my effort) start with "fo" as they are derived from the word "fire" where they are baked quickly in high heat. Also, having fresh bread each weekend is an absolute treat. There was even a bonus lesson for making mince pies at Christmas.

Would you like to enter the competition to win a course for yourself? Which course would you pick?

a Rafflecopter giveaway

Competition Ends 21/1/23

UK entries only

Winner selected at random


28 June 2022

Baked In Bagel Baking Kit (Ocado) By @Cinabar

Baked In Bagel Baking Kit


I felt like a bit of baking and I liked the idea of trying to make something new. I have used the Bake In kits a fair bit and they always seem to work quite well and have pre-measured packs for ease. There isn’t anything pre-prepared for you, just measured dried ingredients and the recipe.

Baked In Bagel Baking Kit

I followed the instructions and added the flour to a bowl, as well as the yeast and sugar and salt, mixing all of that together. I then added some warm water a bit at a time until it formed a dough. I kneaded it and left it to rise. This took nearly 90 minutes, if you aren’t used to making bread you need to include rising time.

Baked In Bagel Baking Kit

After the dough has doubled in size you split it into six equal pieces, roll them into a ball, then put the end of a wooded spoon though the ball and spin the dough on the handle to create the bagel shape. I have to say this was not easy and my bagels didn’t look particularly even afterwards, but I did my best. Once shaped, set them aside for 10 minutes while you boil some water in a pan. The bagel dough balls each need soaking in the boiling water before being dried off and baked.

Baked In Bagel Baking Kit

Mine was baked exactly to time and looked nice and brown, but still not equal in shape. Oh well, add some cream cheese and smoked salmon and the uneven shapes no longer mattered, they were a lovely treat.

Baked In Bagel Baking Kit


24 June 2022

Unicorn Cake Baking Kit (Baked In) By @Cinabar

Unicorn Cake Baking Kit (Baked In)


Its cake time! I was very kindly gifted this cake and this week has been a good week and deserved a bit of celebration. Spectre got a new job. I have used the kits from Baked In before and really enjoyed using them, so was really looking forward to giving this a try.

Unicorn Cake Baking Kit (Baked In)

Inside the kit all the dry ingredients are pre-measured and ready to use, and my favourite part is it even contains the baking tins for making the layers of cake.

Unicorn Cake Baking Kit (Baked In)

To start with, you add one of the dried bags to a bowl, mix in some butter, then an egg and a small amount of milk and whisk. All you do then is add it to a greased baking tin and repeat, four times to get four layers. They baked easily in about 20mins and rose nicely. The only hassle was cleaning the whisk and bowl between each layer to not cross-contaminate the colours.

Unicorn Cake Baking Kit (Baked In)

Today was warm and the mixing of the icing sugar with the butter left me with a rather runny result. I did my best to layer up the sponges and put some on the top which oozed down the sides. I should have used less butter in retrospect to compensate, so apologies for the runny icing in the picture. It did still taste good. I also decorated it with hundreds and thousands and the cardboard cutout unicorn bits. It was super fun and made a very cute cake. The cake was delicious, I mean ever so naughty in terms of taste, sugary sweet baked goodness, but just what we needed for a treat.

Unicorn Cake Baking Kit (Baked In)


7 February 2022

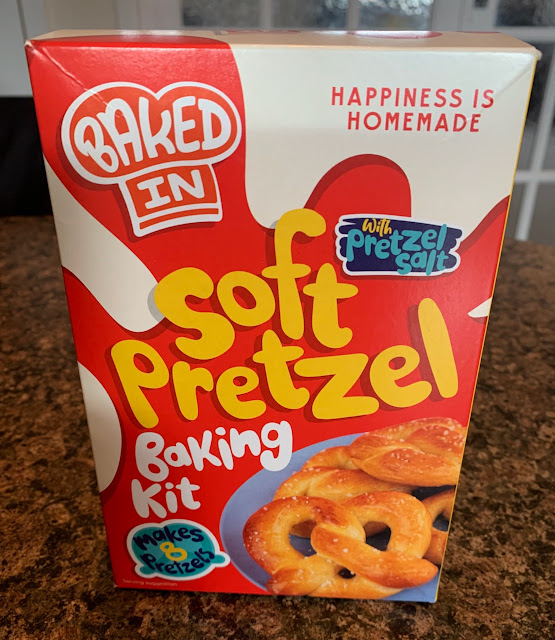
Baked In: Soft Pretzel Baking Kit (Ocado) By @Cinabar

Baked In: Soft Pretzel Baking Kit


I really like pretzels and as I have been baking a lot more recently I couldn’t resist this kit when I spotted it on Ocado. I have use the Baked In kits before and was pleased with the results of a rainbow cake, so I was interested to see how the pretzel one worked.

Baked In: Soft Pretzel Baking Kit

I opened up the box and found several bags, all numbered. There were step by step instructions on the packets and I worked my way through the stages. The recipe was quite simple, melt the butter with the milk not letting it get too hot, add it to the flour, yeast and salt to make a dough. The main bit of time is that you then leave the dough to prove until it doubles in size which takes between 60-90 minutes.

Baked In: Soft Pretzel Baking Kit

After that we split the dough into equal pieces, roll it into a rope and then form a pretzel. These are dunked in a bath of sodium bicarbonate and boiling water before being topped with salt and baked. I know pretzels should be fairly dark in colour and the recipe states to bake them for 10-15 minutes. I had a look and decided to pop them back in for a bit longer as I wanted a bit more colour in my pretzels. I was really pleased with how they looked.

Taste wise they were delicious, an absolutely authentic taste, with a lovely touch of salt all over them. Spectre is hooked on my Focaccia bread and when I said I was going to bake these pretzels he muttered something and I could tell he wanted Focaccia. Having tried them he thoroughly enjoyed them and asked me to make sure we do them again. That is better (and more difficult to achieve) than a Paul Hollywood handshake. A total thumbs up for this Baked In: Soft Pretzel Baking Kit.

Baked In: Soft Pretzel Baking Kit


21 January 2022

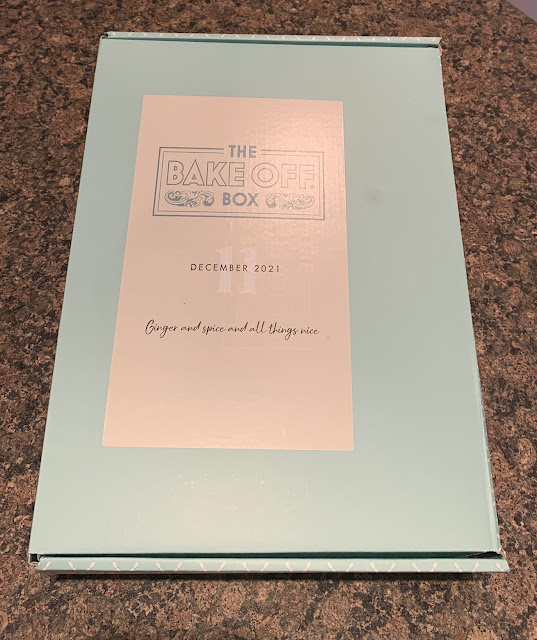
Ginger and Spice Cake (The Bake Off Box) By @Cinabar

Ginger and Spice Cake (The Bake Off Box)


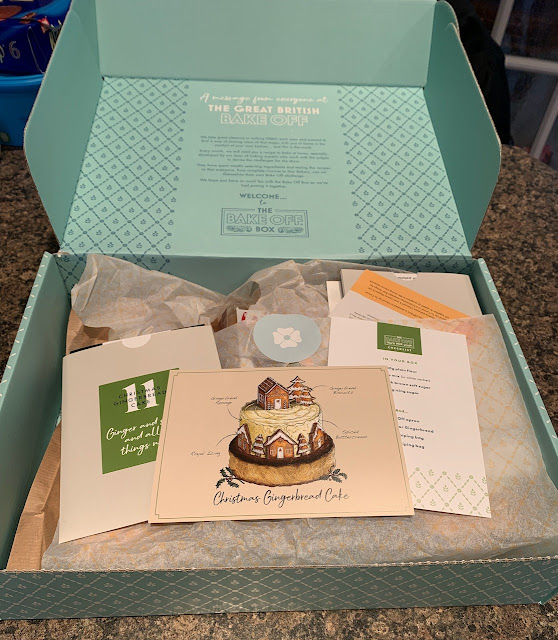
Today we are having a go at making a Ginger and Spice Cake kit that I received as a Christmas gift, from The Bake Off Box. The kit was purchased online by mum and the delivery was slow, it was ordered in November and arrived jus before Christmas, but it did arrive. It is branded with the ‘Bake Off’ logo, and is the official product. I opened up the box and was a little bit worried by just how complicated the cake looked in the pictures! I don’t have those sort of skills! :-D I absolutely love that the kit has a Bake Off apron in the box, that is so smart and I put it on in the hope it would increase my baking skills.

Ginger and Spice Cake (The Bake Off Box)

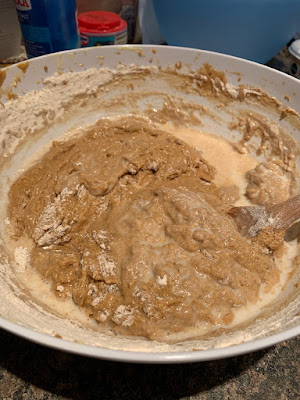
There is a 34 section instruction manual to follow, again quite daunting, but I started at the beginning and decided to just follow it through. I have used baking kits before and up until now they all have one thing in common, everything is pre weighed out for you. Not in this kit, this kit requires scales to measure out the sugar, flour, spices etc, and every stage everything had to be weighed and sieved. I started off by making the sponge, weighing it all out and whisking and folding. 
Ginger and Spice Cake (The Bake Off Box)

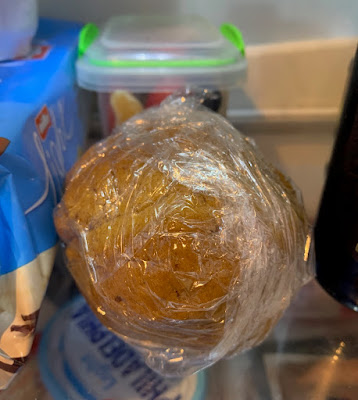
This went quite well as I do bake cakes a fair bit. The sponge mix was split between two tins (not included) and put in the oven. Next up for the cake decorations was the ginger bread mix. I don’t make biscuits that often, and was a bit confused by only needing a tablespoon of egg white, which was a bit faffy to sort but I did. This went in the fridge to chill, while the sponges finished off.

Ginger and Spice Cake (The Bake Off Box)

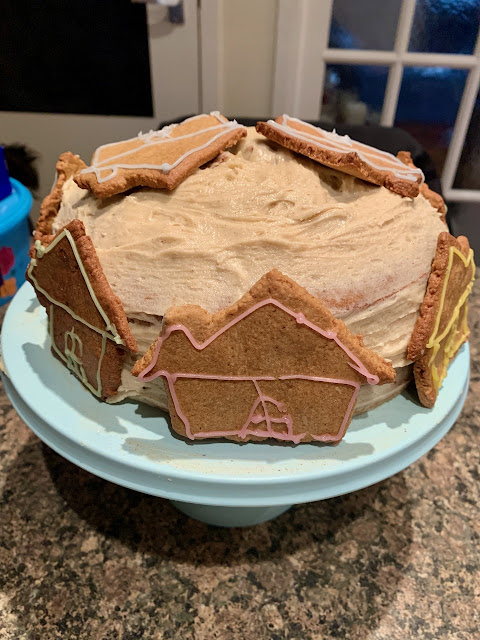
The next step was the making of the buttercream (I ended up washing and reusing the bowls/whisk so often during this whole process). While the sponges cooled I traced around the gingerbread template on to greaseproof paper. I rolled the biscuit dough out and cut some gingerbread house shapes. I didn’t do Christmas trees as it felt like we have passed that point. The biscuits went in the oven to bake, while this was happening I filled the cake with buttercream, and make an attempt to smother the cake in buttercream all over. I’m not very neat, but it looked ok! Once the biscuits were cooked and cooled I decorated them and put them on the cake. 

Ginger and Spice Cake (The Bake Off Box)

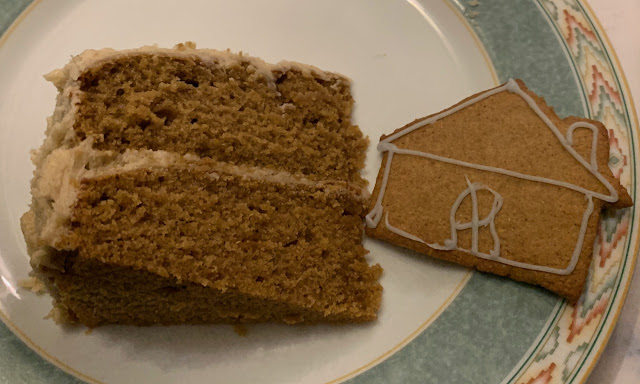
I know my icing skills are basic, but it still looked ok! It tasted amazing though. Fluffy moist sponge, and loads of spice. It was stunning! This isn’t your usual simple cake to make, but it was worth it for a special occasion.

Ginger and Spice Cake (The Bake Off Box)


28 October 2021

Jus-Rol Garlic & Herb Tear & Share really needs better instructions... (@NLi10)

 Many months ago we did a series of reviews for the Jus-Rol recipe products.  I had great fun making things on Sunday mornings - just some sweet pastries without all the faff of making the pastry.  As I was very familiar with the items themselves it wasn't a problem to navigate the bad instructions.


Here though it's a little more obtuse - as we'll see as we go along.
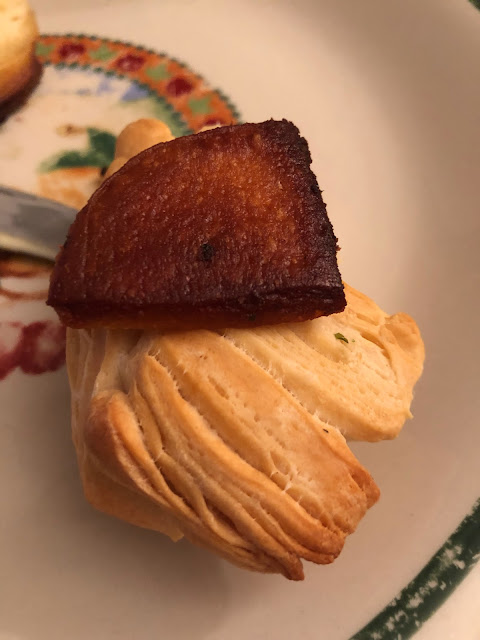

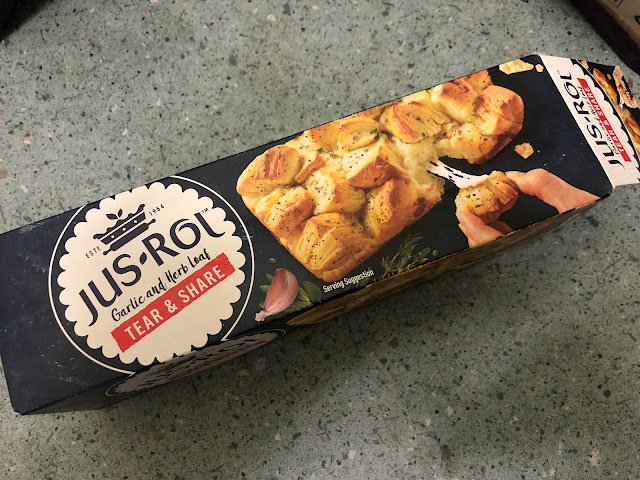
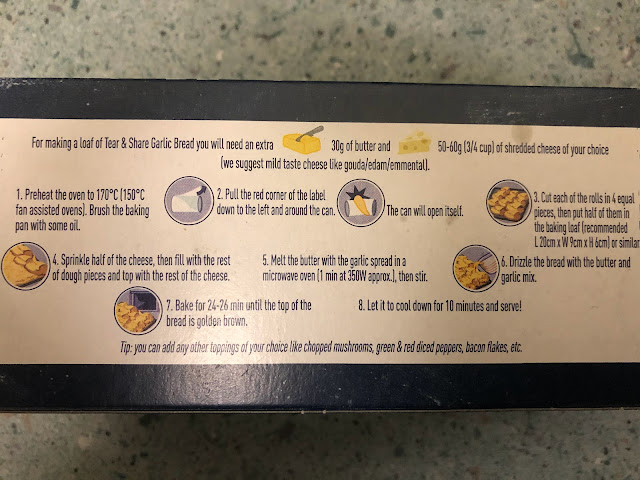
Is the baking loaf the baking pan you mentioned earlier? Did we need a specific size pan? How are we supposed to arrange things?  It really could have done with a link to a pro video by the company like the coffee pods have!


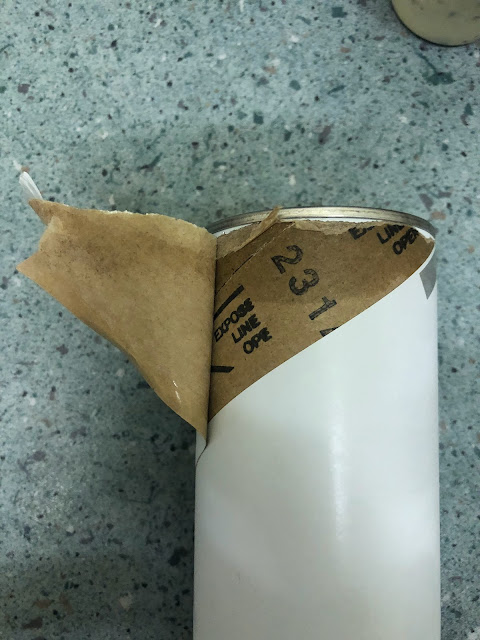
At least I can pop the cans successfully this time!


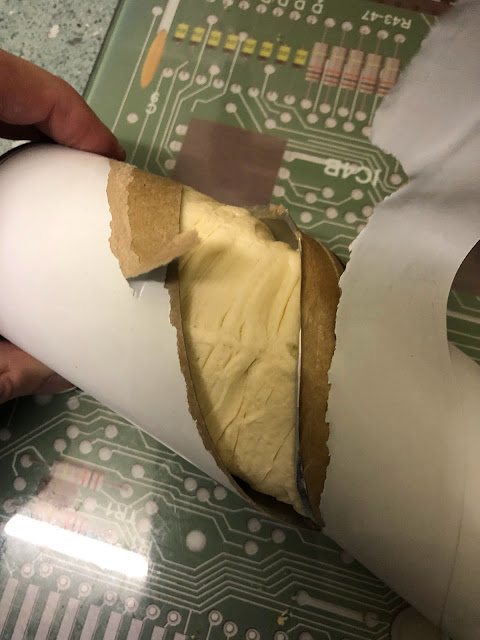
POP!


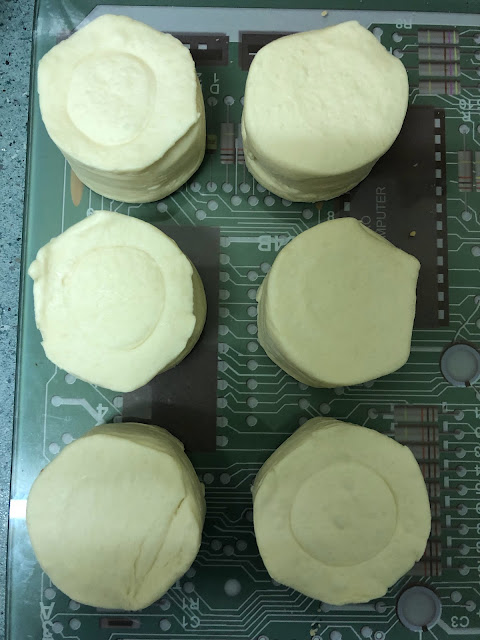
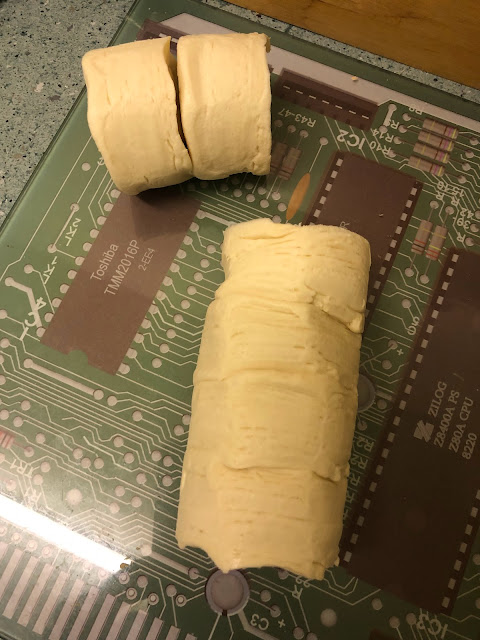
Turns out it's a series of disks - kinda makes sense?


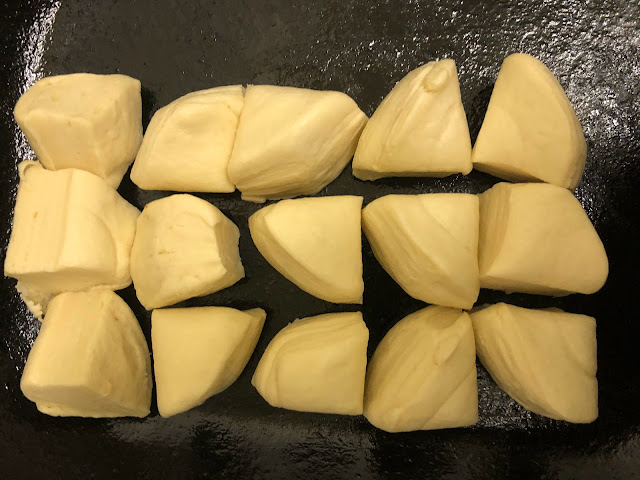
Six in total - chop 3 into quarters - put in pan


look at all the confusing gaps - was I supposed to smush them? Will it expand?

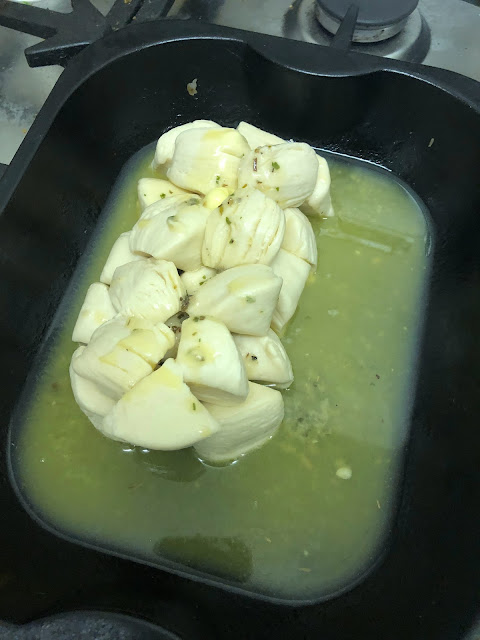
So - melt the butter and drizzle on?  Um - is it supposed to look like this?


Granted the tin is too big - and my butter plus the garlic butter seems to be too swimming.  We didn't add cheese but that was partially as it already looked overwhelmed by dairy.

While it was cooking I had a look online for other bloggers first attempts with this - and they were all similarly haphazzard.  There were bread piles, tray-bakes, and no one ended up with the box picture.


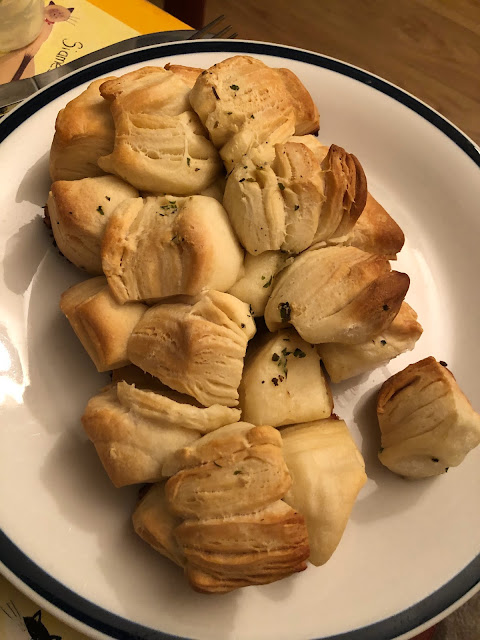
Ours isn't too bad in the end!  The butter essentially fried the bottom but it cooked through and had decent flavours.


Some bits were crispier than others.  

Next time I think we'd measure out the 3 circles worth of bread quarters (so 3x4 I guess) and make a 'loaf' tin out of tinfoil for it to sit in.  I'm still not sure if it was supposed to rise and mingle more, we did essentially make doughballs (which is fine).

I think also the garlic sauce might have been better as a dip than in the butter bath - but I'm not sure that's what they intended.

It was nice though - and we enjoyed eating it - if not the confusing experience.  We will have to try the savoury style recipes again.

And if anyone knows what we were supposed to do then let us know!


12 March 2021

Bakedin Rainbow Cake Kit (Moon Pig) By @Cinabar

Bakedin Rainbow Cake Ki


This fantastic looking Bakedin Rainbow Cake Kit came as a birthday present back in January from my brother and family. I think there might have been a hope that I would bake the rainbow Cake when they visited, unfortunately though the use-by was edging closer so I had to make it without them. We could call it is trial run. I also had the day off work so what better plan that to give myself a fun baking project and to stop worrying about what emails are waiting in my work inbox.

Bakedin Rainbow Cake Ki

So the Bakedin Rainbow Cake Kit arrived with all the dry ingredients and the four foil baking trays as well a cake board and some grease proof paper. I simply added the fresh ingredients butter, milk and four eggs. 

Bakedin Rainbow Cake Ki

To make the kit you start with the first bag of dry mix and add butter which is mixed in until it looks like bread crumbs. I rubbed this in and ended up with coloured fingers.

Bakedin Rainbow Cake Ki

Next you add an egg and a drop of milk and whisk until you have a fluffy looking cake batter. There are four bags of dry cake mix and you have to repeat the process four times. The strong colours this means that everything needs washing (bowl / whisk / spoon / hands etc) every time in between. Once you have the batter you pour it into the foil baking trays which you’ve greased and lined with baking paper.

Bakedin Rainbow Cake Ki

Next you bake them for 20-25 minutes. The colour of the cakes makes it difficult to judge when they are ready so I did the skewer test to make sure they came away clean. Then leave the cakes to cool in their tins, before turning out to cool some more. Never ice a hot cake, we’ve all watch The Bake Off.

Bakedin Rainbow Cake Ki

Once they are cool you mix the icing bag with butter and whisk until fluffy. I am not skilled in neat cake decorating but I followed the instructions, a layer of of sponge topped with a layer of icing and repeat until all four layers are stacked and then you add the icing all around the edge too, finally topping it with rainbow sprinkles. If you can’t bake neatly I have discovered rainbow sprinkles and or edible glitter are heaven sent.

Bakedin Rainbow Cake Ki

Next came the moment of truth and the cutting in to see how the sponges turned and what the colour looked like. I was really pleased, they were fairly bright and all looked pretty even. This is an amazing cake and I realise it is an even cake but in my head it is belated birthdays cake. The height of the cake in impressive too, it is a proper party piece. The flavour was wonderful and despite the four different cake batter was fairly easy to make with impressive results. Here is hoping the next time I make it all the family can share.

Bakedin Rainbow Cake Ki